DIY BIOCHAR KILN – WORKING BEE
by Brian Lewis - September 23rd, 2016.Filed under: Articles.
REPORT OF WORKING BEE carried out on 17 June 2016 at Blewitt Springs, South Australia.
PRESENT:
Gareth Carrel: Vigneron
Greg Marlu: Biochar producer
Matt Quinn: Compost producer
Brian Lewis: Biochar blogger
PURPOSE OF WORKING BEE:
To build 3 biochar production kilns based on Greg Marlu’s adaptation of a top lit updraft gasifier kiln.
This kiln is a simplified version of the Anderson TLUD design in that it does not have an outer drum or top aperture to provide heated secondary air. Greg has found that provided the wood chips are dried before use this design is adequate for making good commercial- quality biochar.
SITE REQUIREMENTS:
A clear flat area about 8m x 8m with no flammable material or overhanging trees.
A water supply.
A supply of dry wood chips.
CLOTHING:
Wool or cotton outer clothes.
Eye protection.
Long fire-proof gloves.
MATERIALS USED (for 3 kilns):
3 x 1 ½ 44 gallon drums, galvanised steel.
3 x 300mm dia. galvanised steel ducting, 1800 mm long.
3 x set of 3 standard house bricks.
TOOLS USED:
Electric drill with 15mm drill bit.
Cutting oil (RP7)
Angle grinder
Hammer
Pitchfork (for wood chip handling)
Propane gas lighter
Mirror on stick (to view underneath main drum)
PROCEDURE to MAKE EACH KILN:
1. TO MAKE MAIN SECTION using one drum:
1.1 Drill 40 holes with 15mm bit in bottom of drum, evenly spaced. Start with 8 mm drill bit.
1.2 Remove top of drum with angle grinder.
2. TO MAKE BURN CHAMBER with adjustable air vent using half a drum:
2.1 Remove a 150 mm high section from open end of half-drum with angle grinder.
2.2 Flare edge of remaining open end of drum so that it fits over the open top of the main drum.
2.3 Cut 3 flaps in edge equi-distant around circumference about 50 mm wide and 20 mm high so
that the resulting flap can be bent inwards to help secure chamber onto top of main drum.
2.4 Take the 150 mm drum section and cut it through at one point so that an open hoop remains.
2.5 Bend back the two ends about 50 mm to form two flanges.
2.6 Drill a matching hole in each flange to suit available piece of fencing wire to hold flanges
together.
2.7 Mark out 6 cut-outs evenly around the hoop, each cut-out to be 100mm wide x 50 mm high.
Tip: Radius of drum is about 1/6 of its circumference.
2.8 Cut out each cut-out with angle grinder.
2.9 Cut a flap out of top side of hoop about ¼ circumference from hoop opening to form a crude
handle.
2.10 Make matching cut-outs in the half drum.
2.11 Fit hoop to the half drum and check alignment of cut-outs.
2.12 Place pipe section on top of half drum in centre and mark a circle around pipe.
2.13 Mark lines from circumference of circle to centre of circle at equal intervals to make 10
sections.
2.14 Drill hole in centre of circle.
2.15 Cut along each line from centre to circumference.
2.16 Bend up each section at right angles to top of half drum.
2.17 Check that pipe section fits securely on top of half drum.
3. ASSEMBLY & OPERATION:
3.1 Locate main drum on 3 bricks to provide air access to holes in bottom of drum.
3.2 Locate half drum with fitted hoop onto top of main drum. This is the burn chamber with adjustable vent.
Note: Adjust the vent holes to about half open for normal operation. Vent only needs to be fully opened during final stage of the process if the char begins to ignite. Increasing the vent opening reduces draft to reduce air flow to any burning char.
3.3 Fill main drum and burn chamber to top of vent holes with dry wood chips.
3.4 Fit flue pipe to top of burn chamber.
3.5 Open vent fully.
3.6 Use propane lighter to light wood chips accessible through each vent hole.
3.7 Once well alight reduce vent opening to about half-way.
3.8 Observe operation and take precautions to prevent the possibility of accidental contact with hot surfaces (eg. Barrier; Warning signs, etc).
Note: Some smoke will issue from flue during start-up phase while the top layer of wood chips burns. This takes 5- 10 minutes. Then flue emissions should be smoke-free and remain that way until completion.
3.9 Observe discolouration of the external surface of main drum and note area of high temperature.
Note: This high temperature region takes up about 1/3 of the height of the drum and moves slowly down the drum as the woodchips are progressively converted to biochar.
3.10 When the high temperature region reaches the bottom of the drum check for burning char using the “mirror on stick”. If char is burning a red glow will show through the air holes. If there is a red glow open the vent fully to reduce air draft or alternatively block air flow completely. The flame colour is also an indication of char temperature; the flame colour changes towards the blue end of the colour spectrum as it gets hotter (eg. red, orange, yellow, blue).
3.11 Get water supply ready to dowse the char.
3.12 Remove the flue pipe.
3.13 Remove the burn chamber. Check that volatiles have finished burning.
3.14 Tip the main drum over to allow the char to fall out onto a sheet of iron or similar fire proof surface.
3.15 Apply a water spray and thoroughly dowse until all the char is cool to touch.
4. CONCLUSIONS:
4.1 The construction is simple and suitable for most DIY people.
4.2 Not suitable for use in suburban gardens or anywhere where a fire permit is required.
4.3 Operation is simple and is essentially hands-off once started except at completion OR if smoke
emissions occur.
4.4 If wood chips used are too damp the process stalls, smoke emissions occur and the drum needs
to be emptied and contents quenched.
4.5 Wood chips need to be spread and dried before use.
Many thanks to Gareth for providing the site for this working bee and to Greg for sharing his knowledge of kiln-making with us.
Photos:

MAKING THE BURN CHAMBER

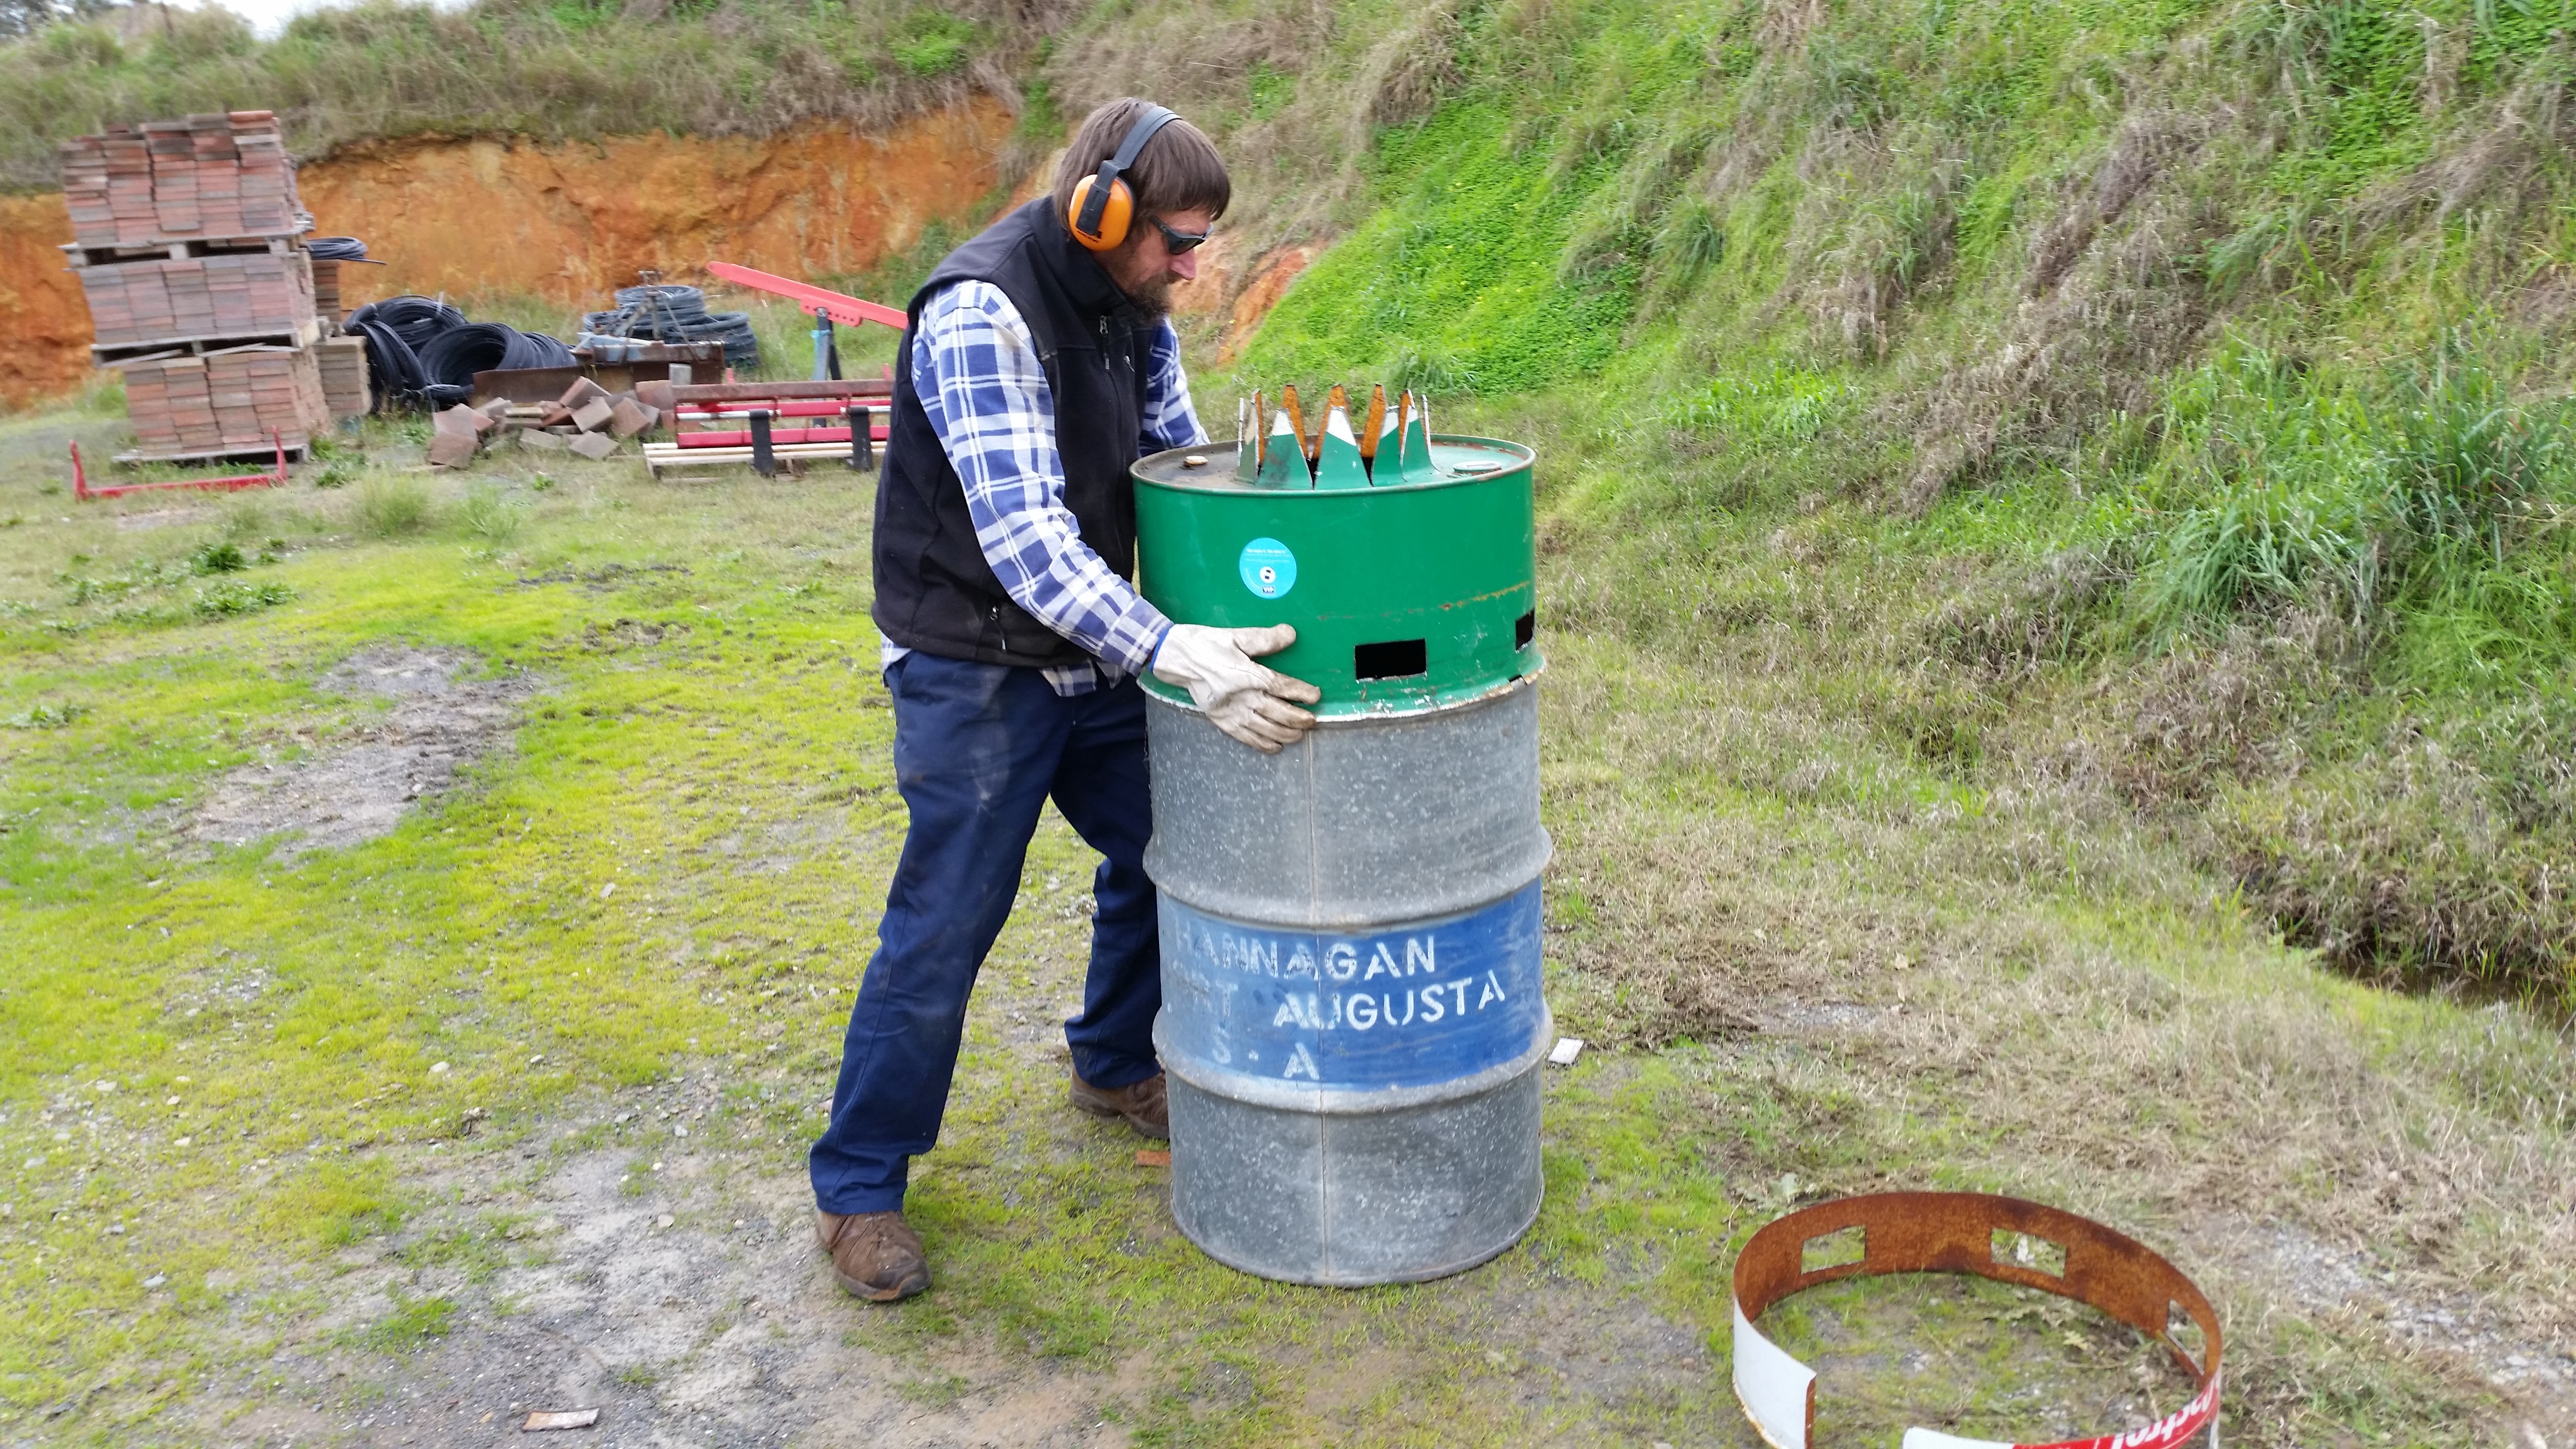
FITTING THE BURN CHAMBER

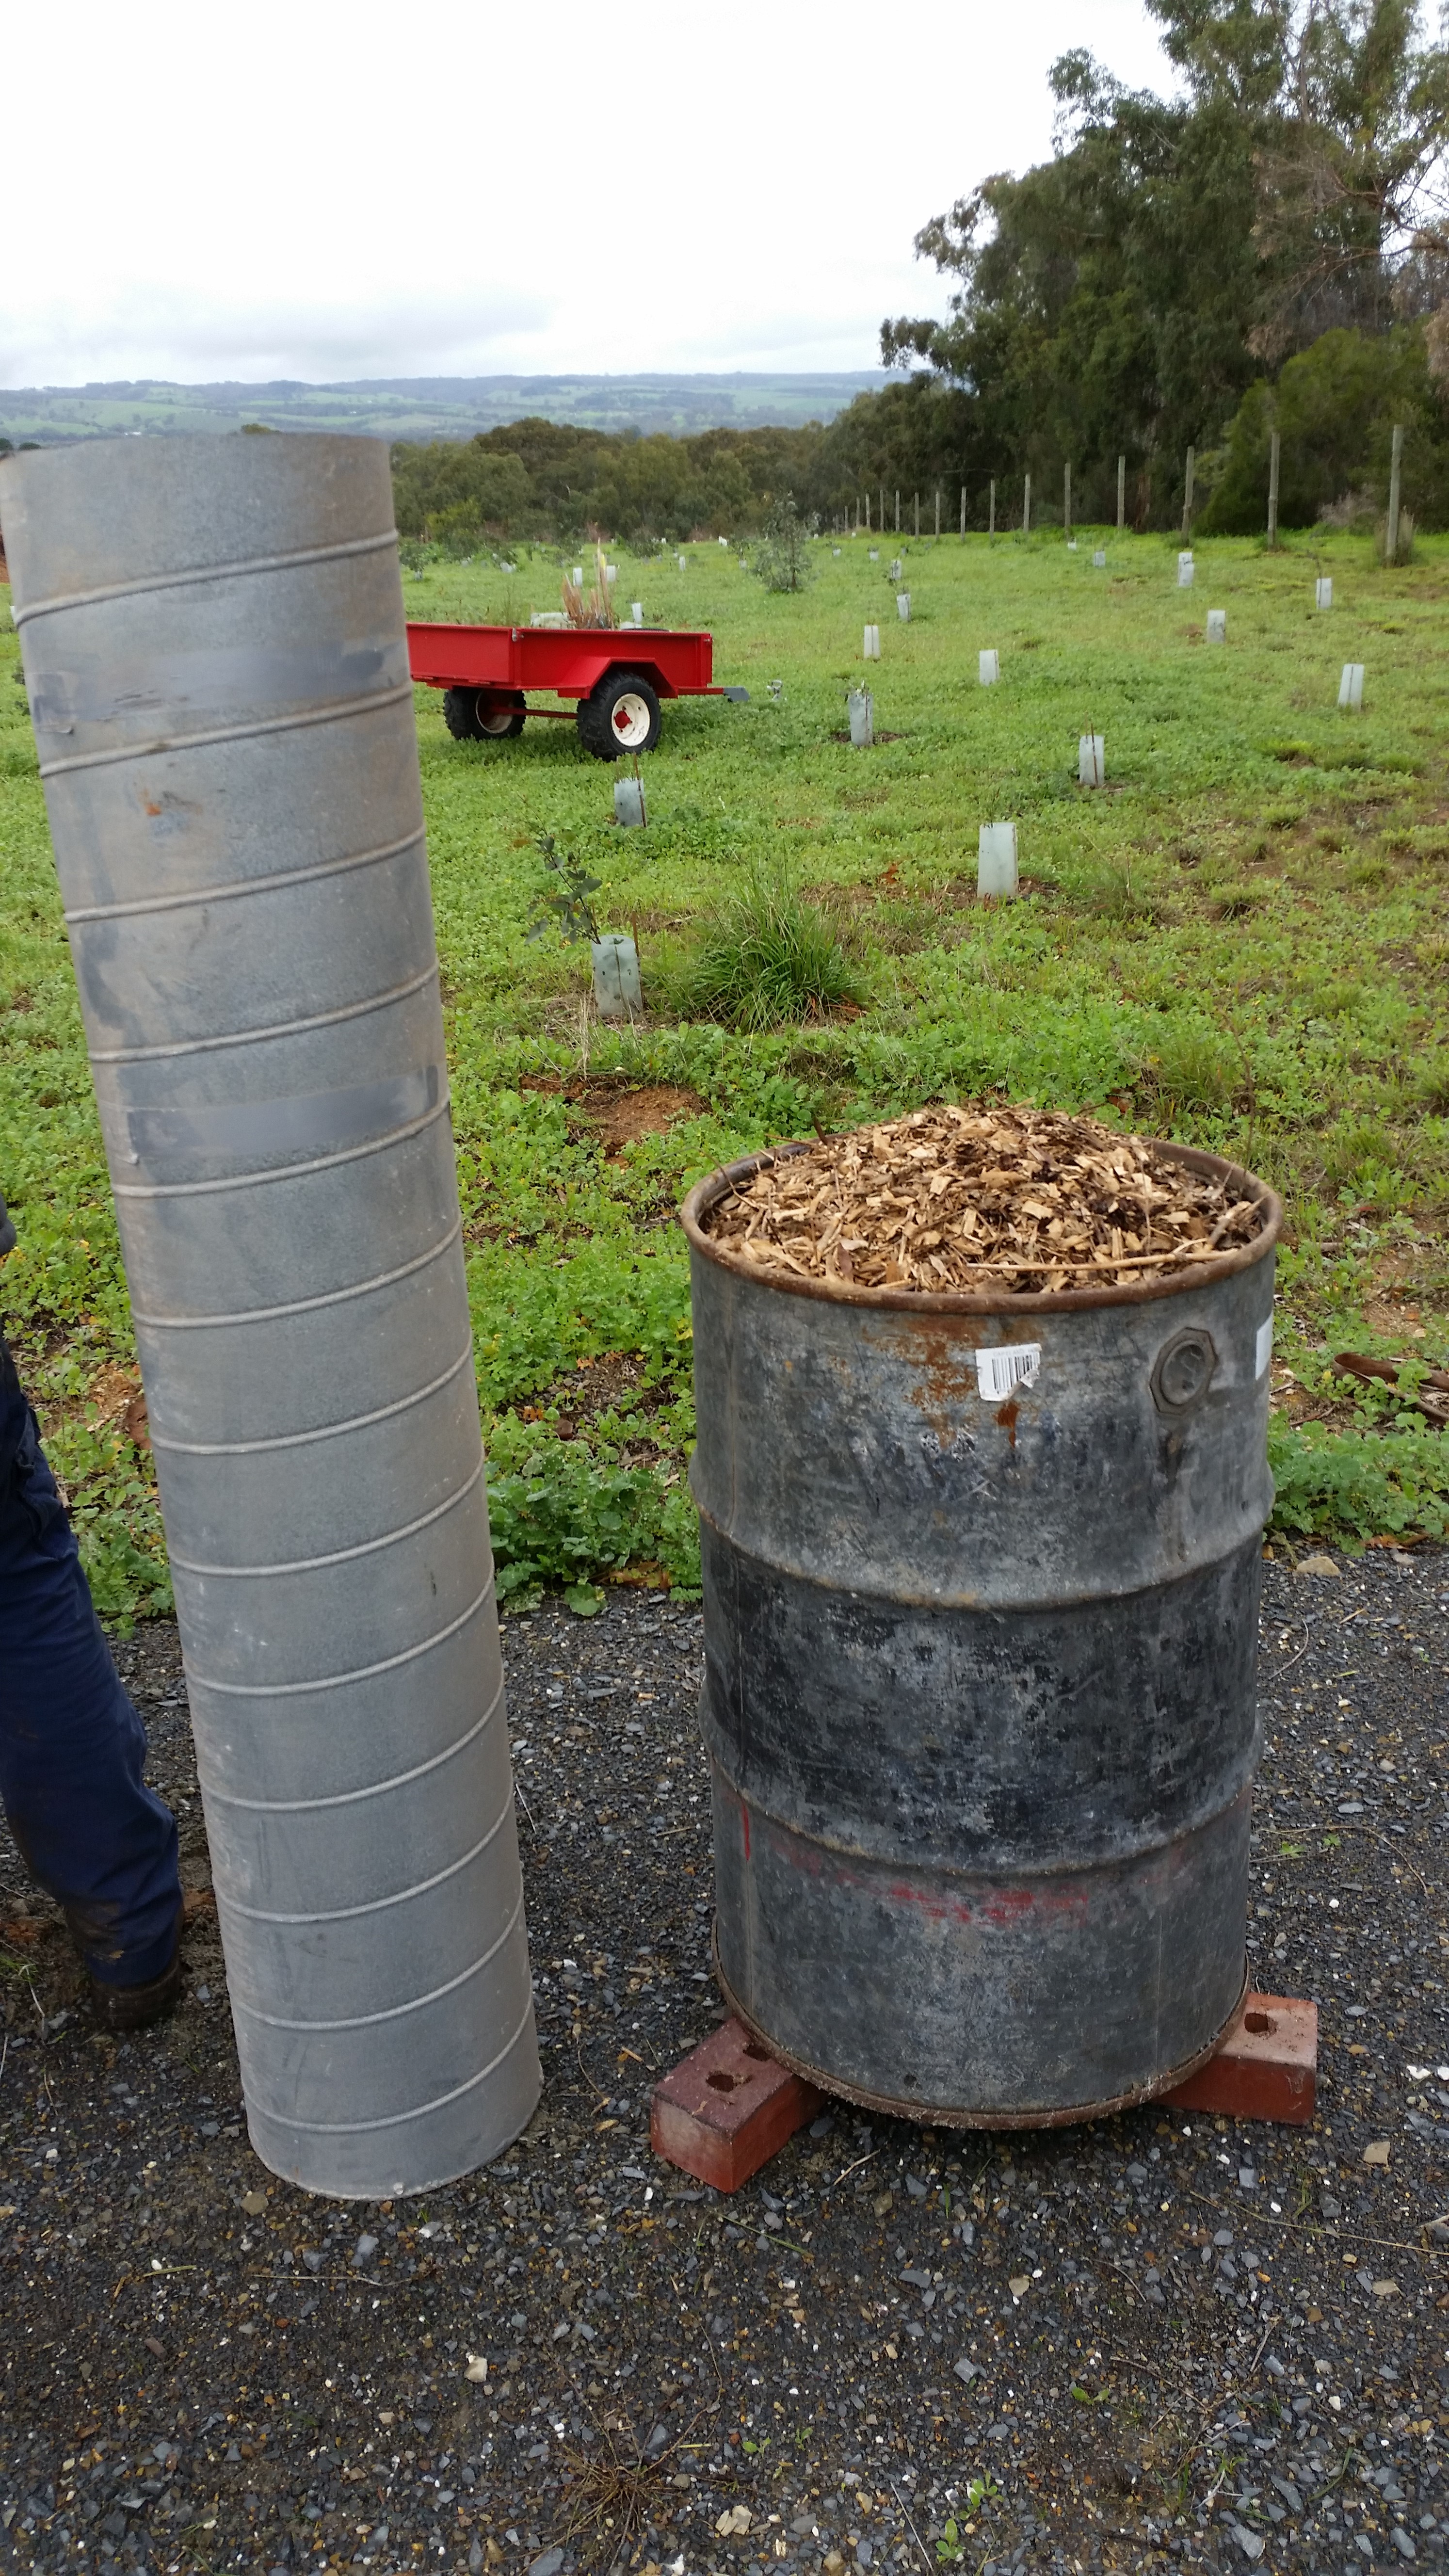
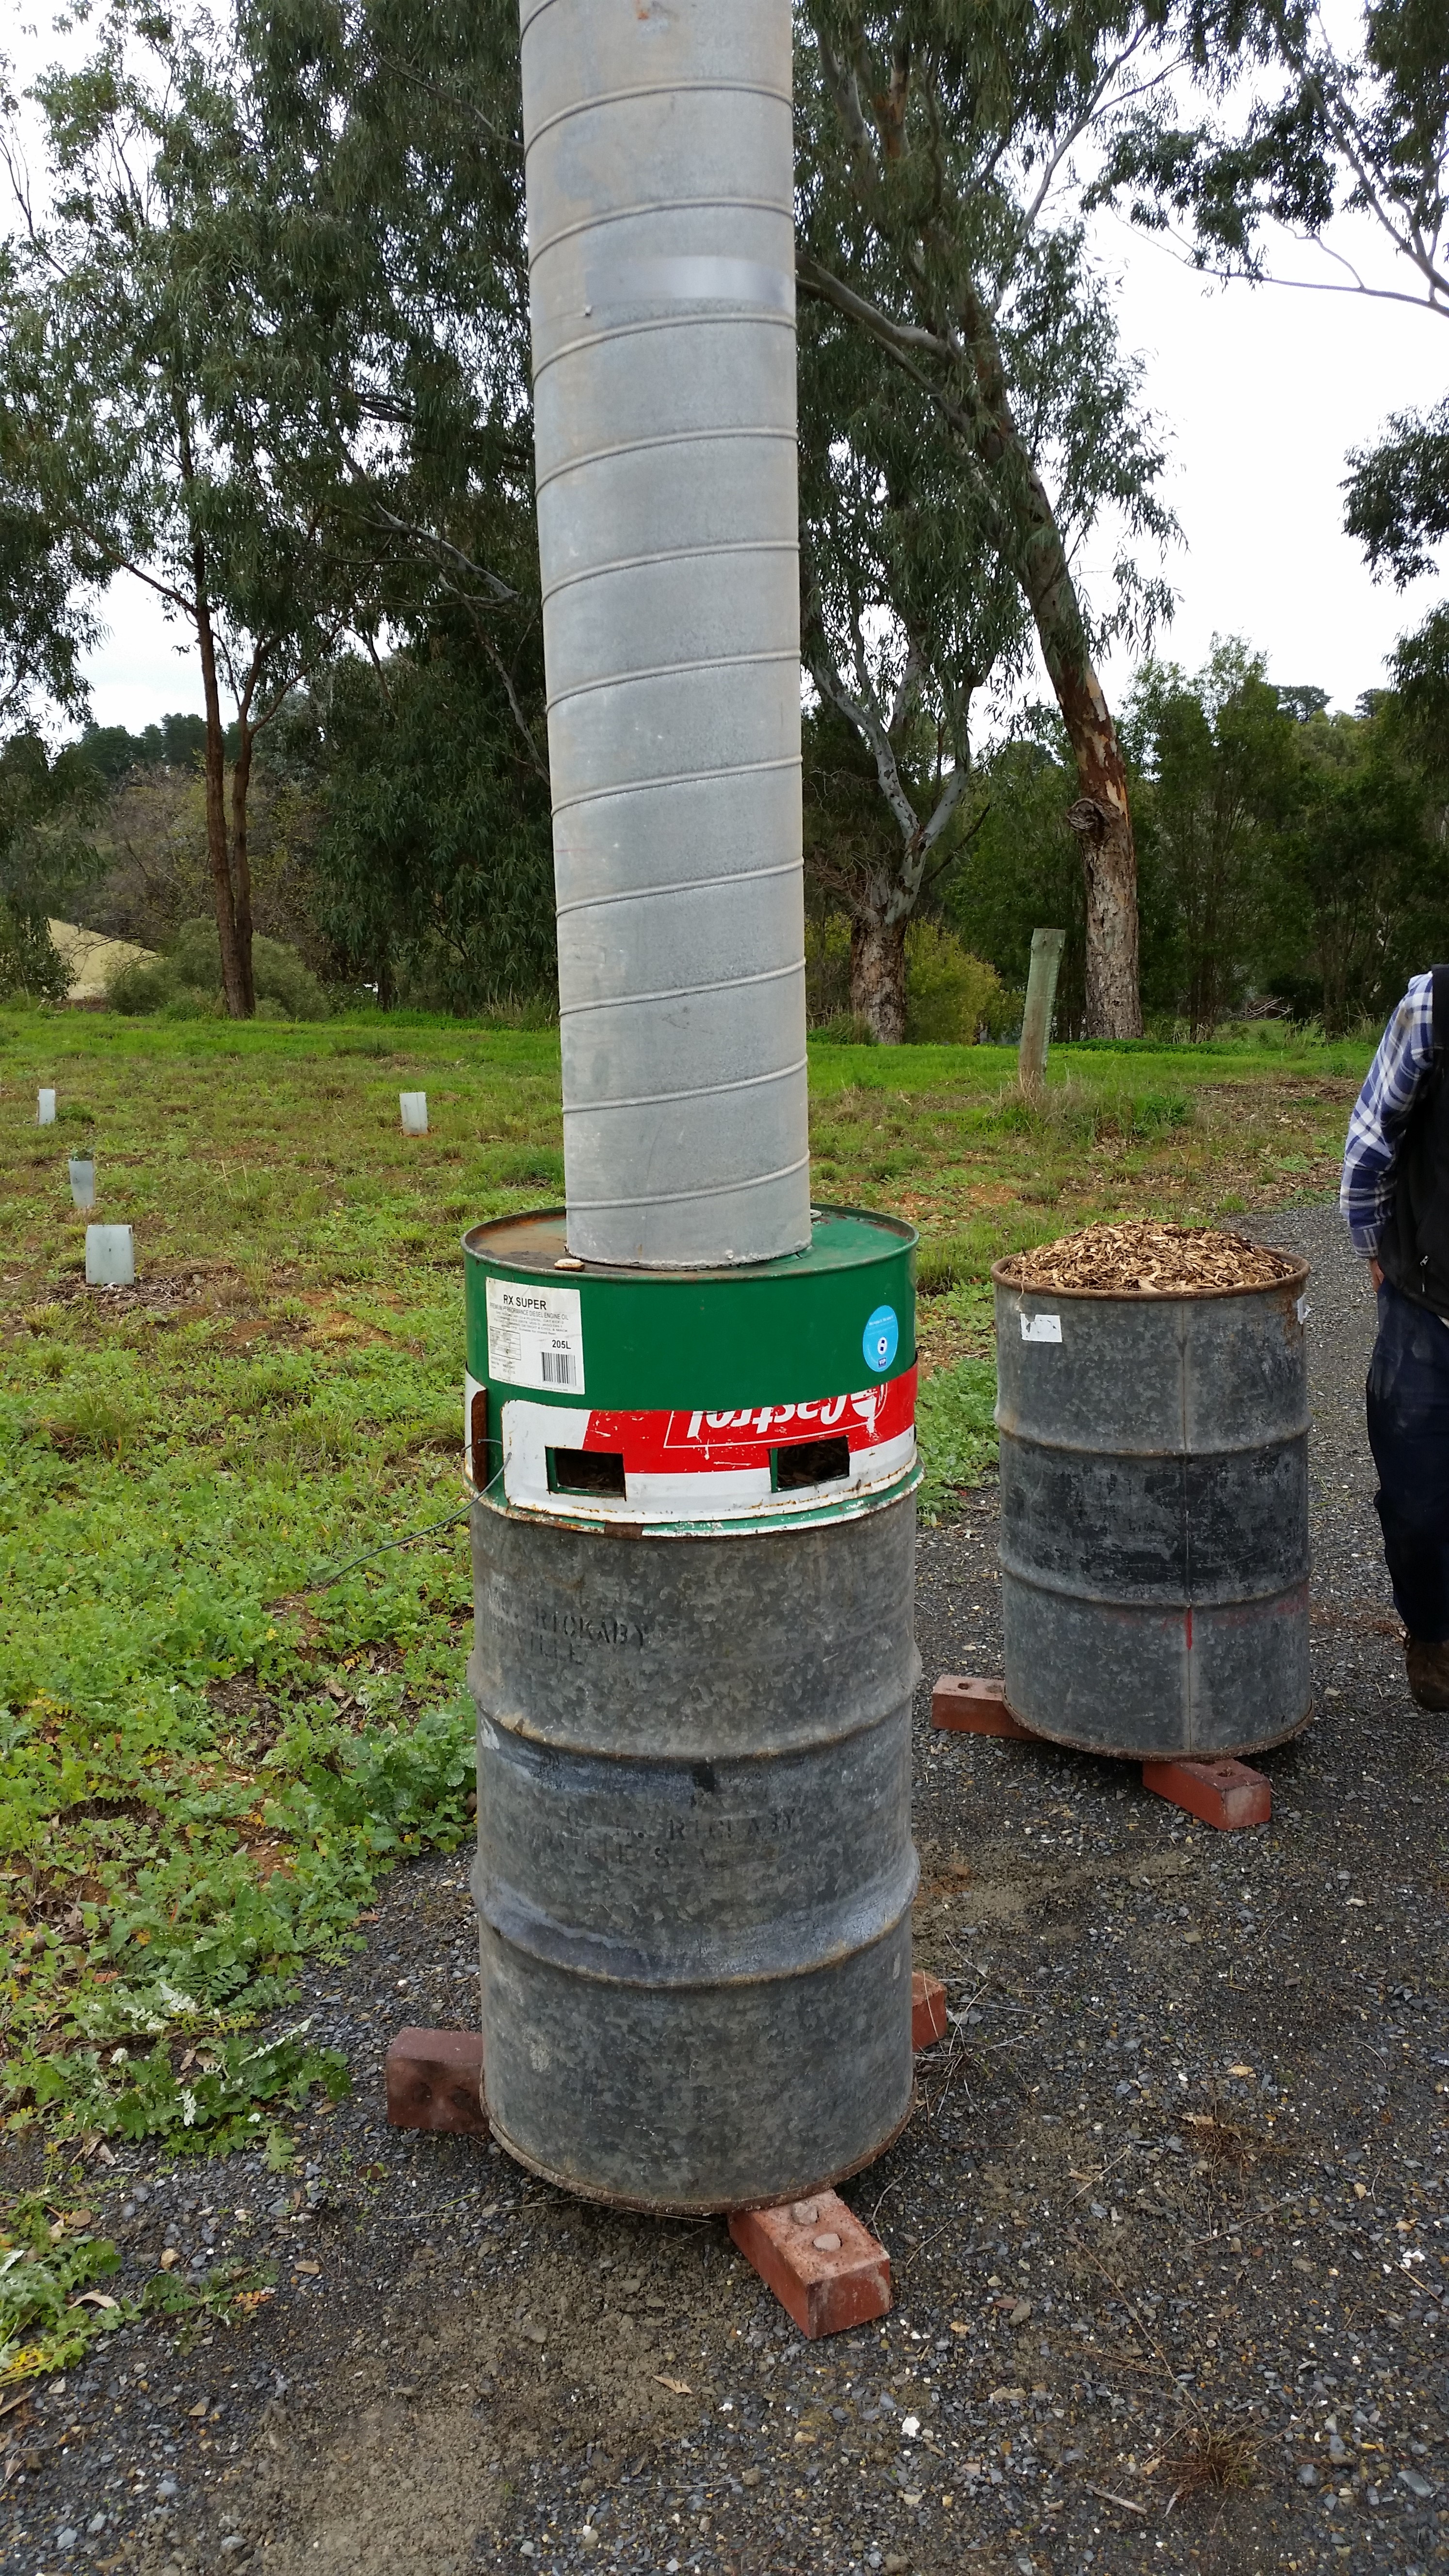
READY TO START
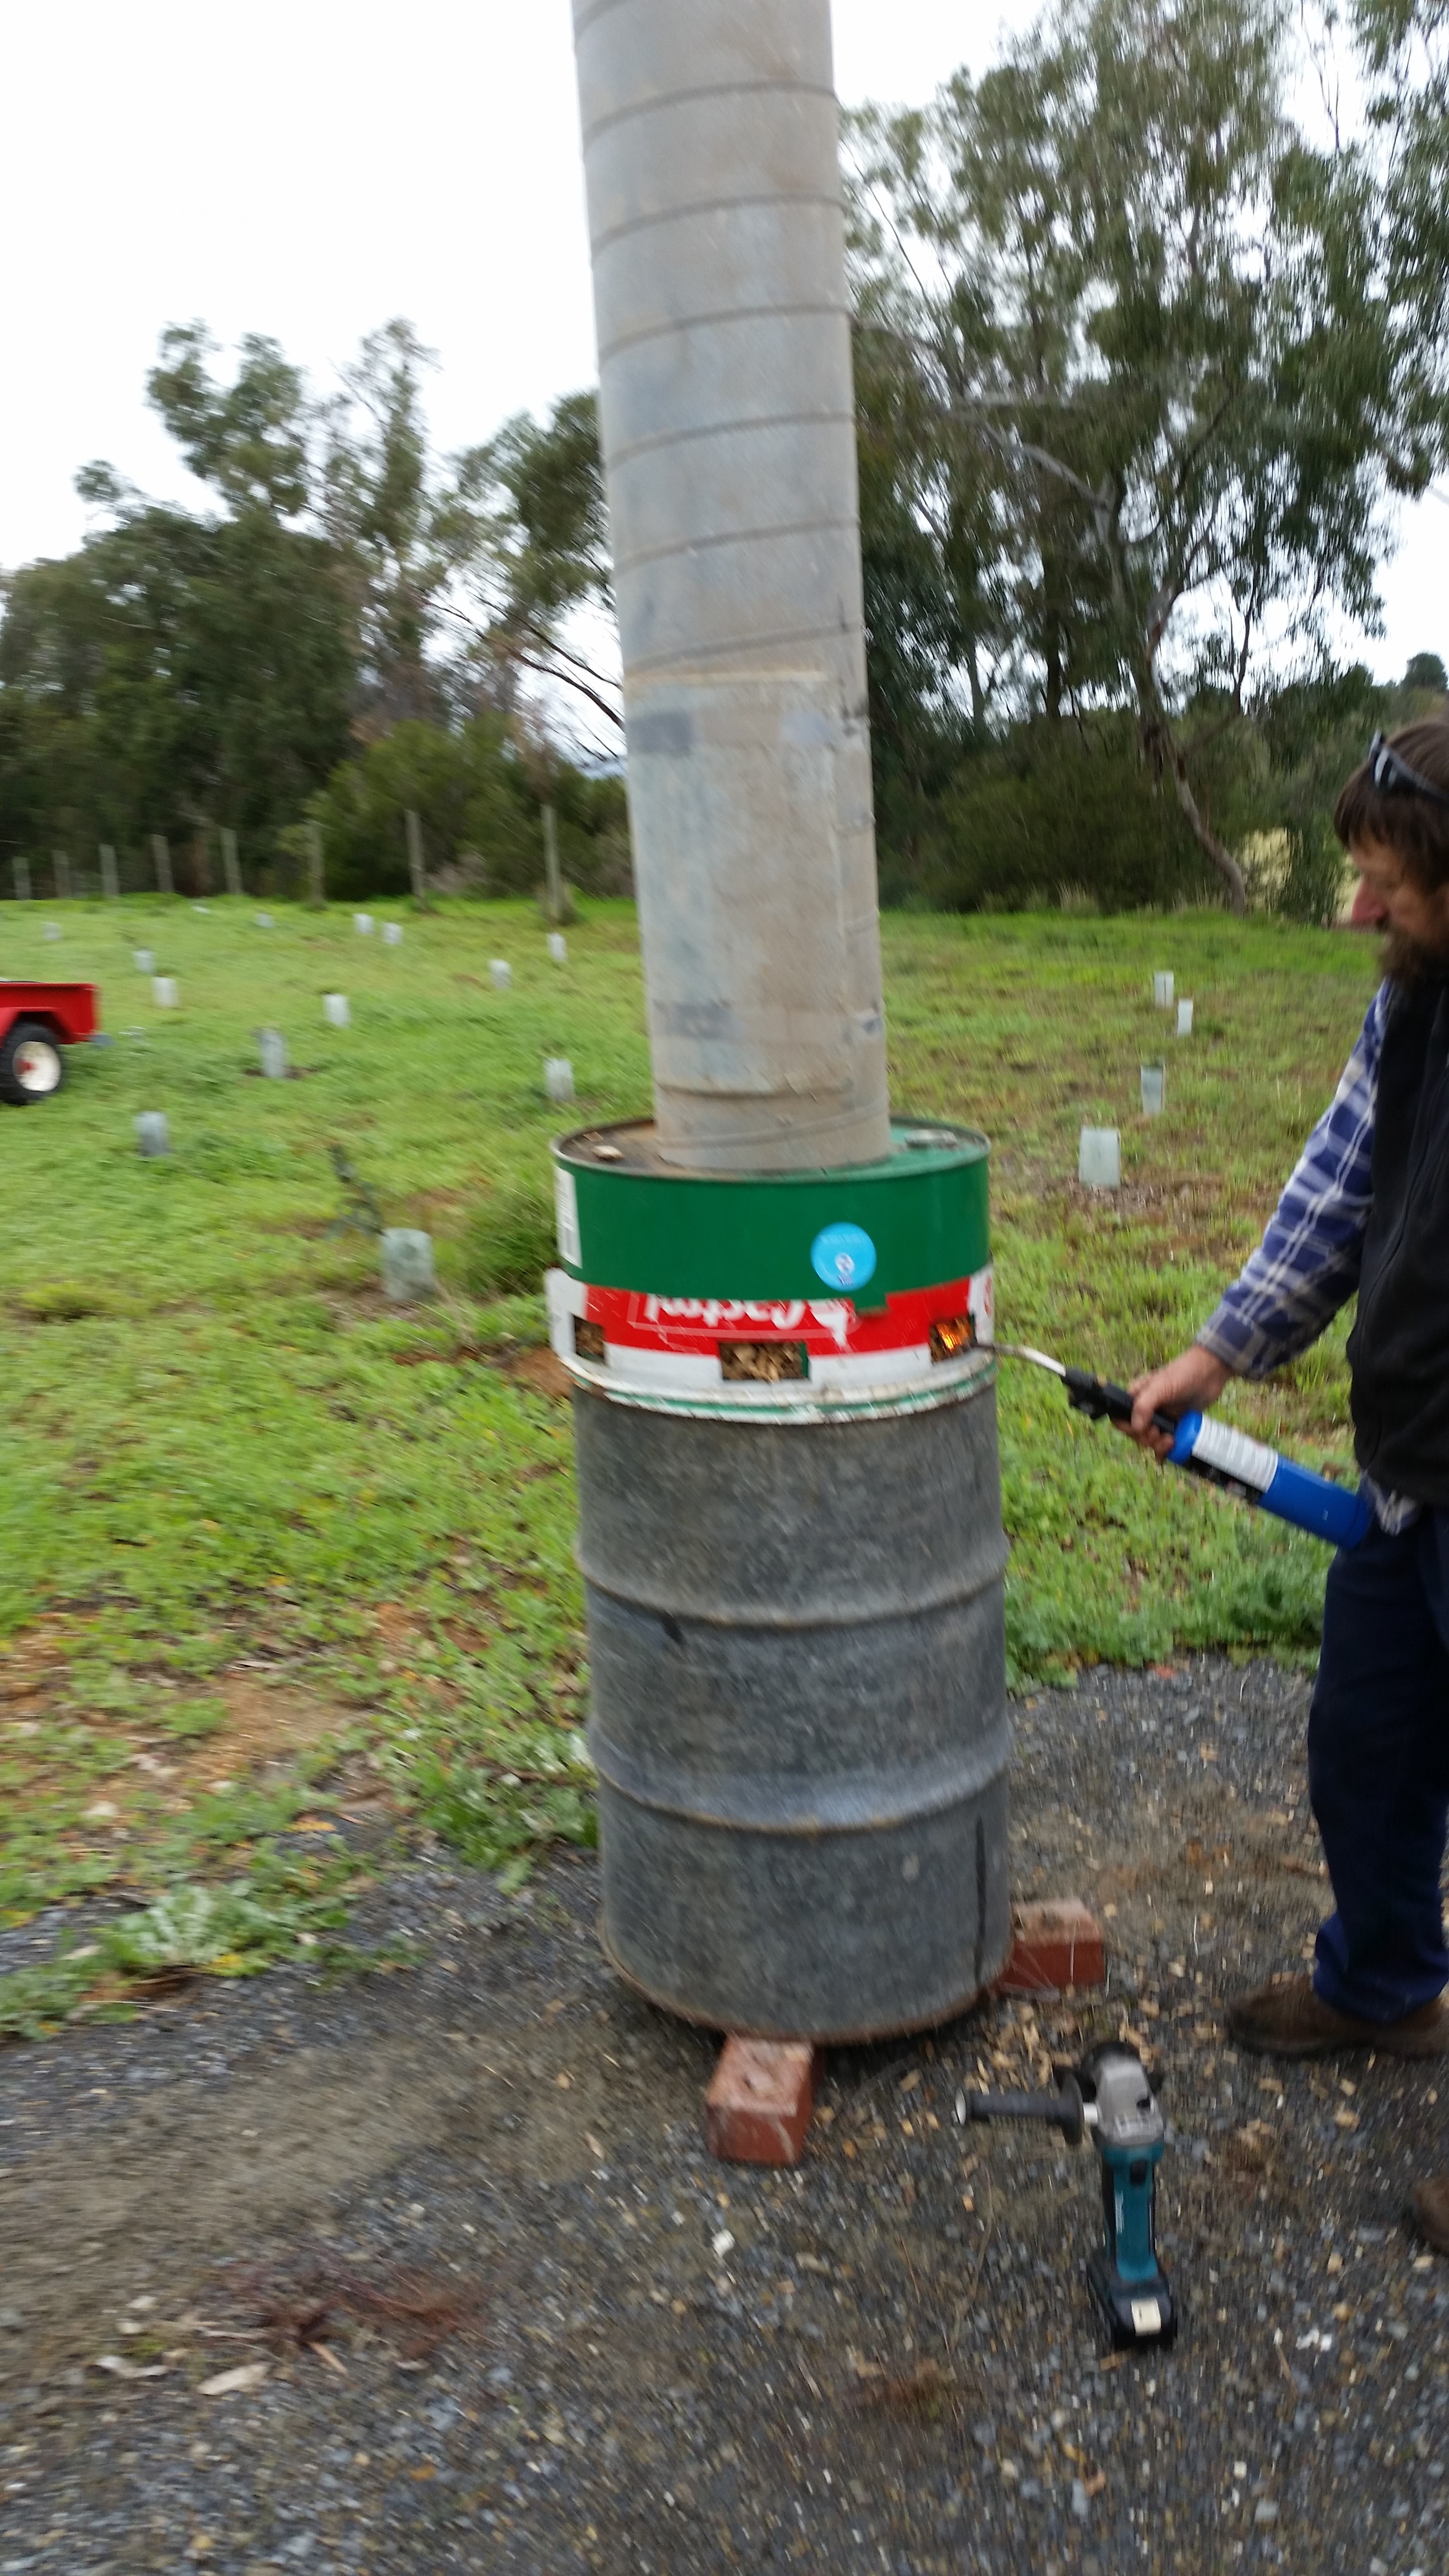
LIGHTING UP
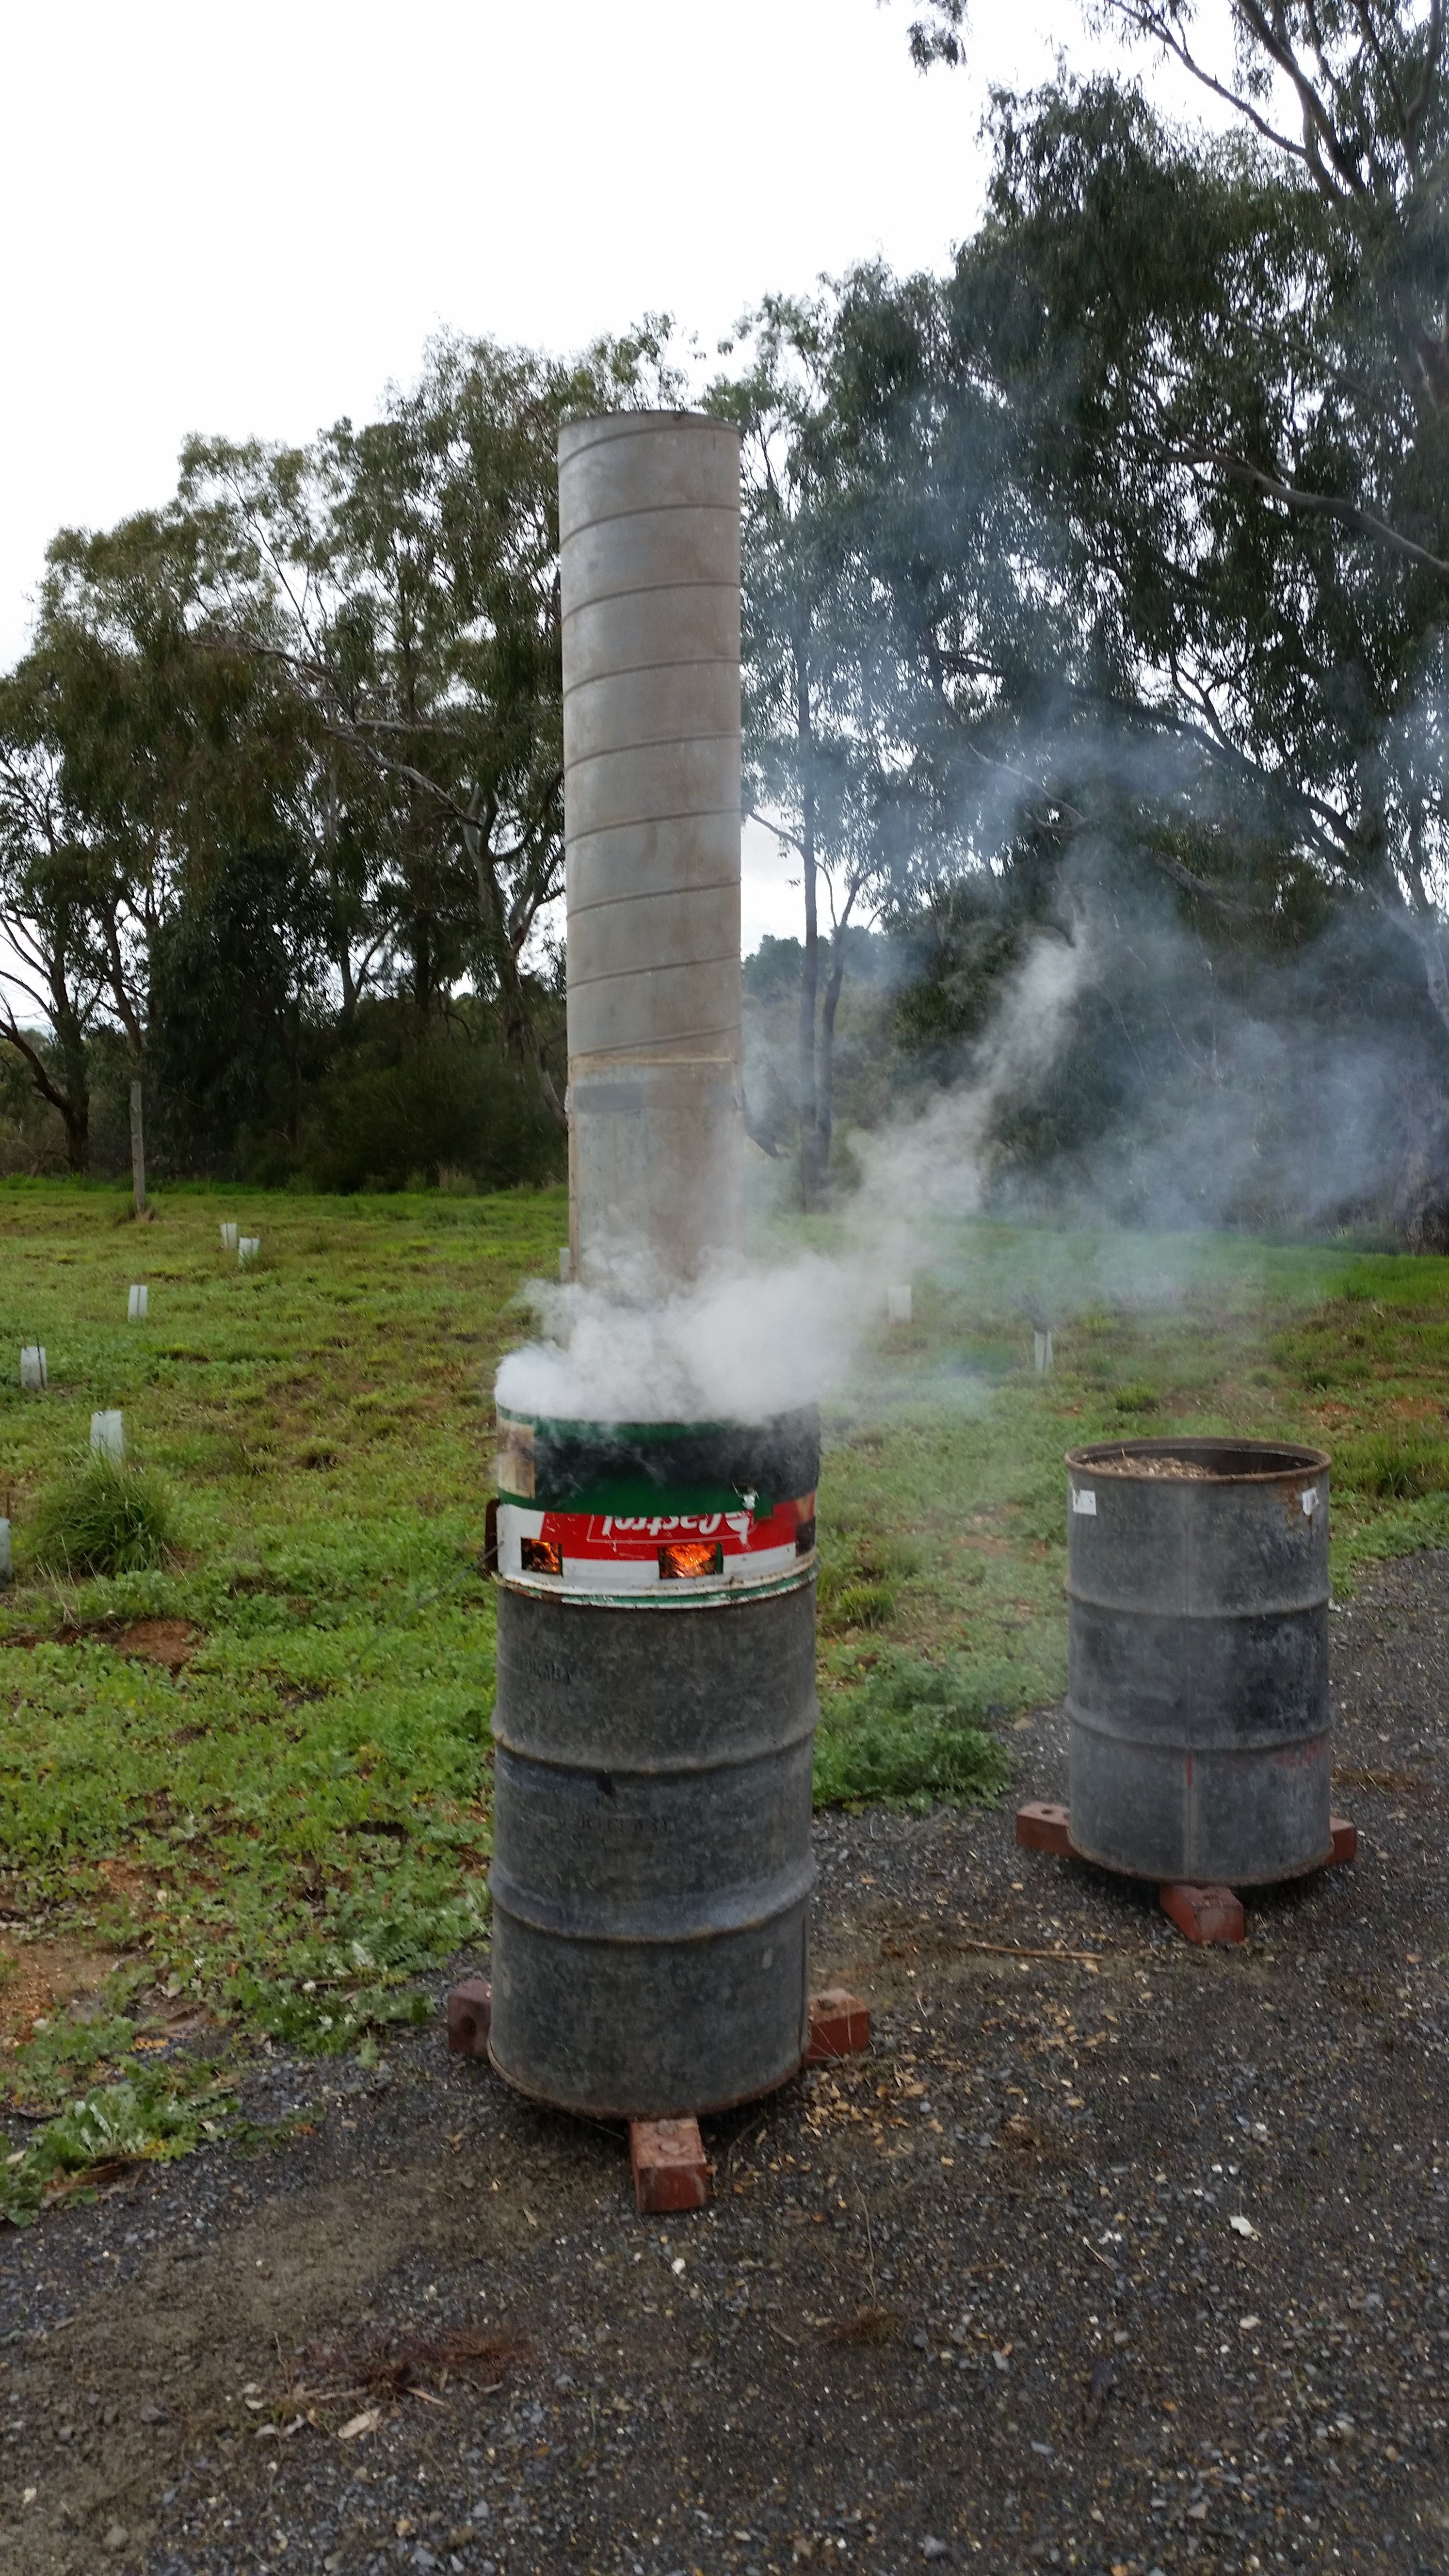
START-UP
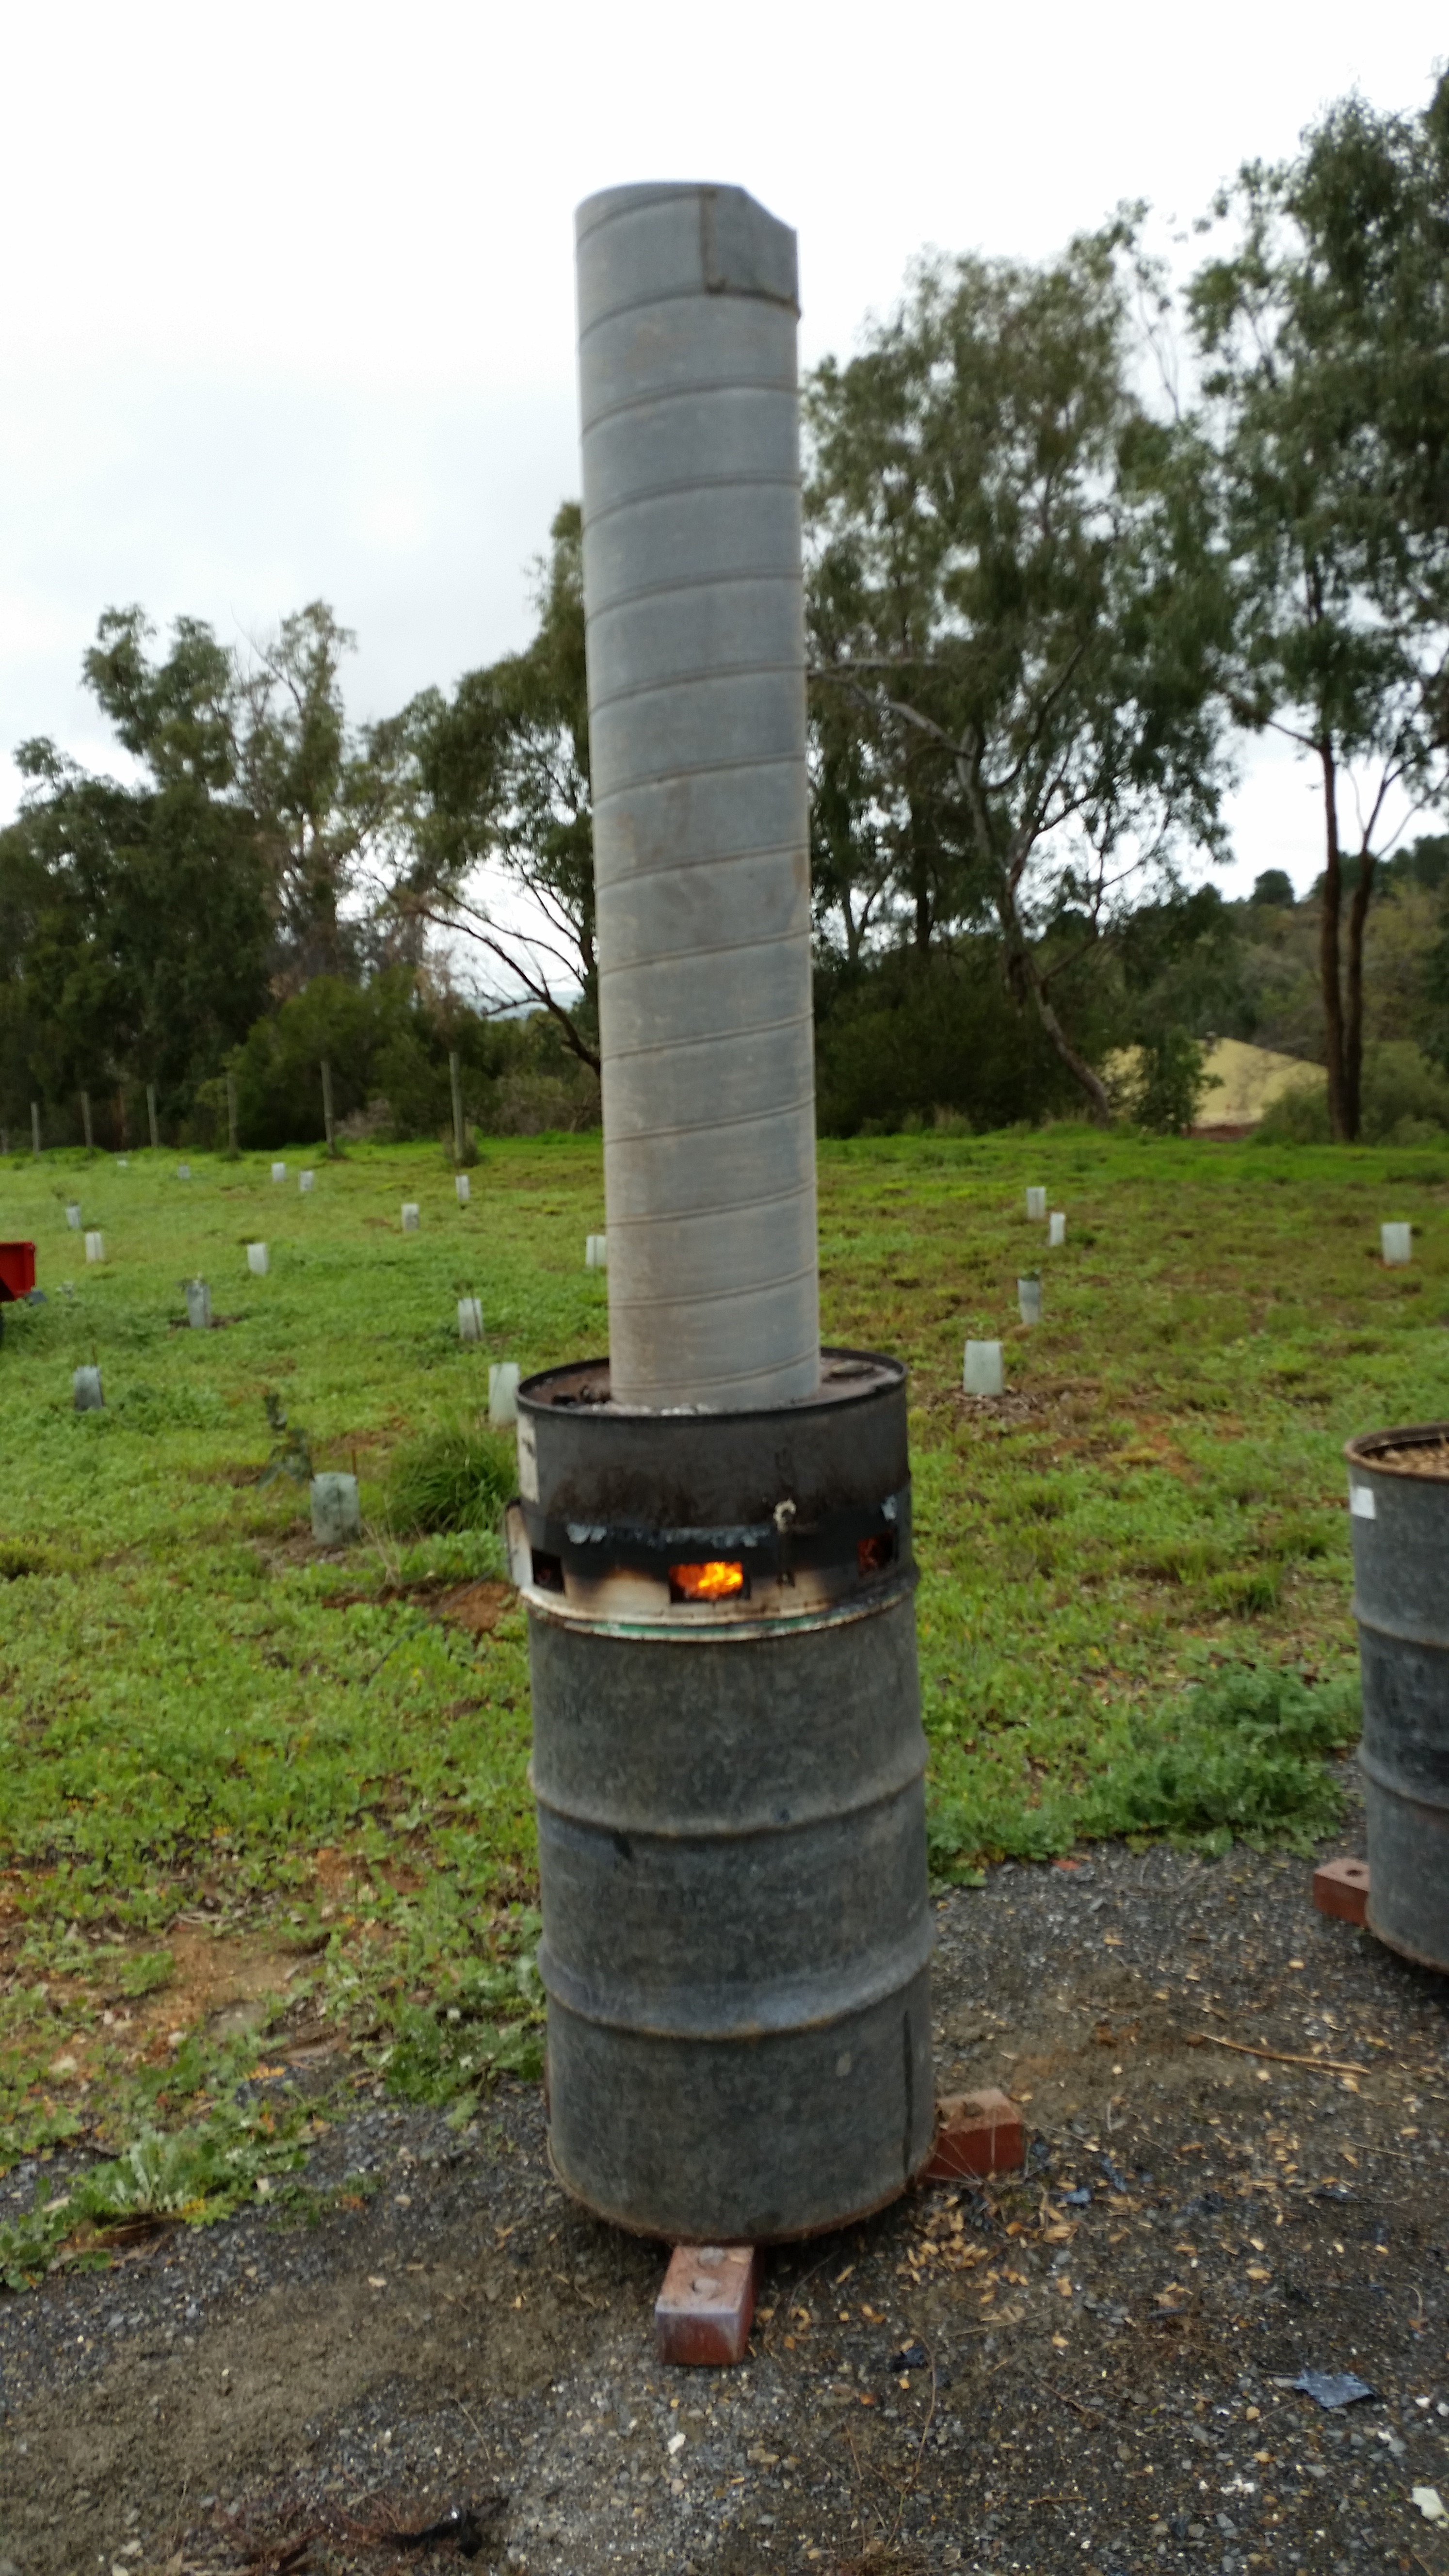
IN PROGRESS
May 31st, 2017 at 8:16 am
898920 226731Wonderful post, thanks so considerably for sharing. Do you happen to have an RSS feed I can subscribe to? 799989